Pen Turning Made Easy

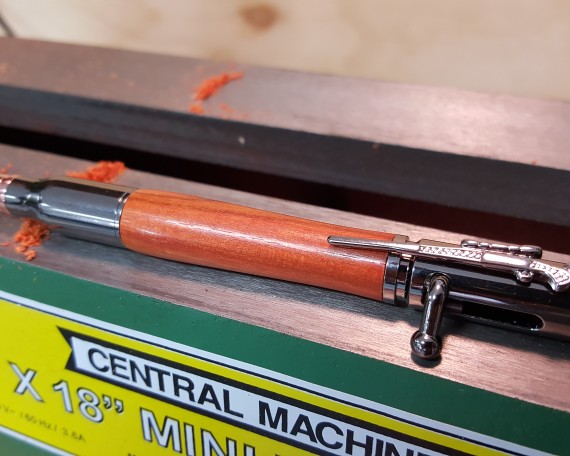
After sitting in front of a computer for 8 hours a day, there’s something extremely cathartic about finishing a hands-on project in the shop. The “finishing” parts are usually few and far between with as many “in progress”  projects I have on my roster. Enter the artform of pen turning. In the span of half

RD250 Cafe – Back End

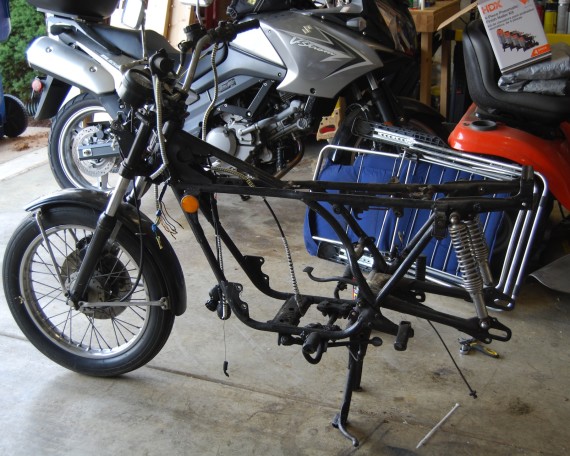
It’s been awhile since I’ve sat down to type up the progress on the bike. I’ve gotten so far ahead of myself that I’m scared without proper documentation I won’t be able to get this thing back together! So taking a break from the garage to write up some past work.

In this entry, I’ll be looking at removing the back-end, including the lights, rear fender, and rear tire. Last time we finished up with removing the main harness and battery box.

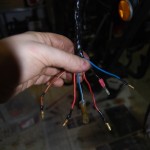
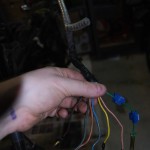
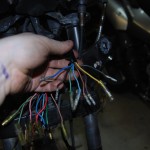
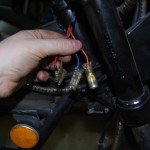
RD250 Cafe – Main Harness Removal

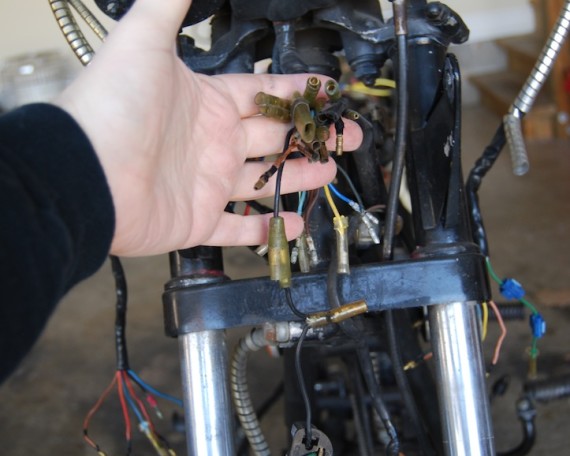
DISCLAIMER: This is going to be a lot of detailed tracing of the main harness. It’s probably interesting and very helpful to someone that needs to do the same or has a question about the process, but probably pretty monotonous for casual reading.

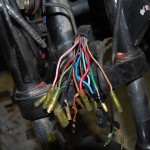
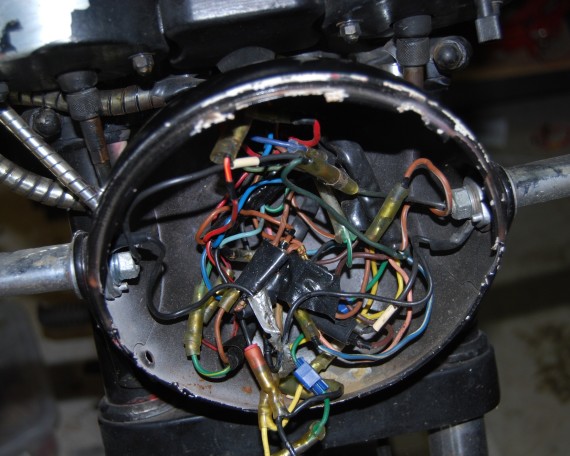
Last time I detailed (well, kind of) the removal of all the junctions that meet behind the headlamp. Actually, most of the details were left out, but I provided a diagram showing the junctions and each of the 6 places they could go (plus the Left and Right front turn signals). As a recap, here are the main bundles that come into the junction behind the headlamp:

RD250 Cafe – Seat and Headlamp Wiring

Seat Removal

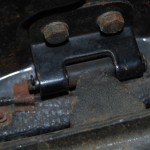
The 75 RD250 has a hinged seat, under which you will find the battery, fill tube for the oil tank, fused lines and an assortment of other wiring. It’s held in place by two hinge bolts that should also have cotter pins installed. In my case, only one was the original bolt w/ cotter pin, the other was just a bolt and a couple of nuts. The mechanism that holds the seat in the open position is a small metal rod that is inserted into a slot on the rear portion of the frame. When opened, the large end of the rod falls into a valley in the slot of the frame, keeping it held in place. Once the hinge pins are removed, it’s easy enough to maneuver the locking mechanism out of the frame and lift the whole seat off.

RD250 Cafe – Exhaust


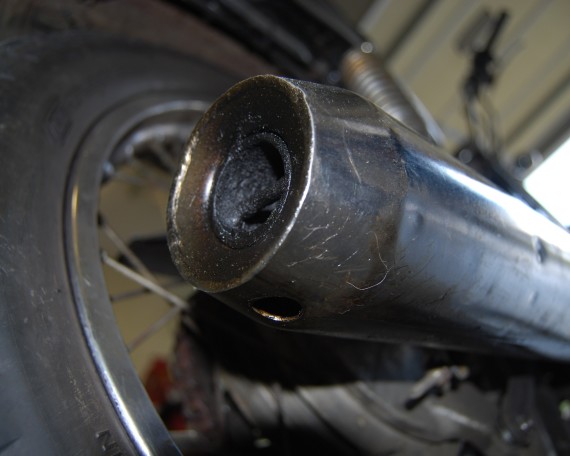
Retaining Screw

Retaining Screw Location

Removing the exhaust system was high up on the list of to-do’s. The PO mentioned that the right baffle seemed to have an issue. I didn’t realize how big of an issue it was until I started taking things apart. I figured a good cleaning of carbon deposits would be in order, but it turned out to be oh so much more.

First things first, there is a retaining screw at the rear of each pipe that holds the baffle in. Removing each screw and washer lets you pull the baffle right out.

RD250 Cafe – Carburetors

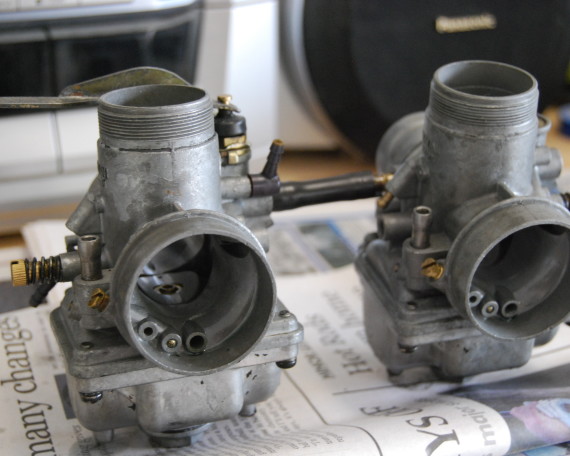
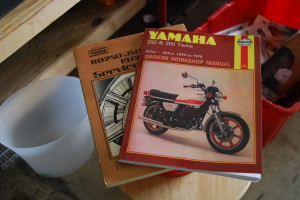
Functionally, this bike is in pretty decent shape. I was able to ride it home, but I wouldn’t trust it out and about in town for long. With the right cylinder prone to fouling its plug after its run for a bit, the first thing to do is inspect the carbs and the exhaust. We’ll cover the carbs first. Before we get started, I need to sing praises for good shop/service manuals. I’d still be scratching my head on a lot of things without these, so drop the $$ and save yourself the headache.

A must have!

A must have!

RD250 Cafe – Intro

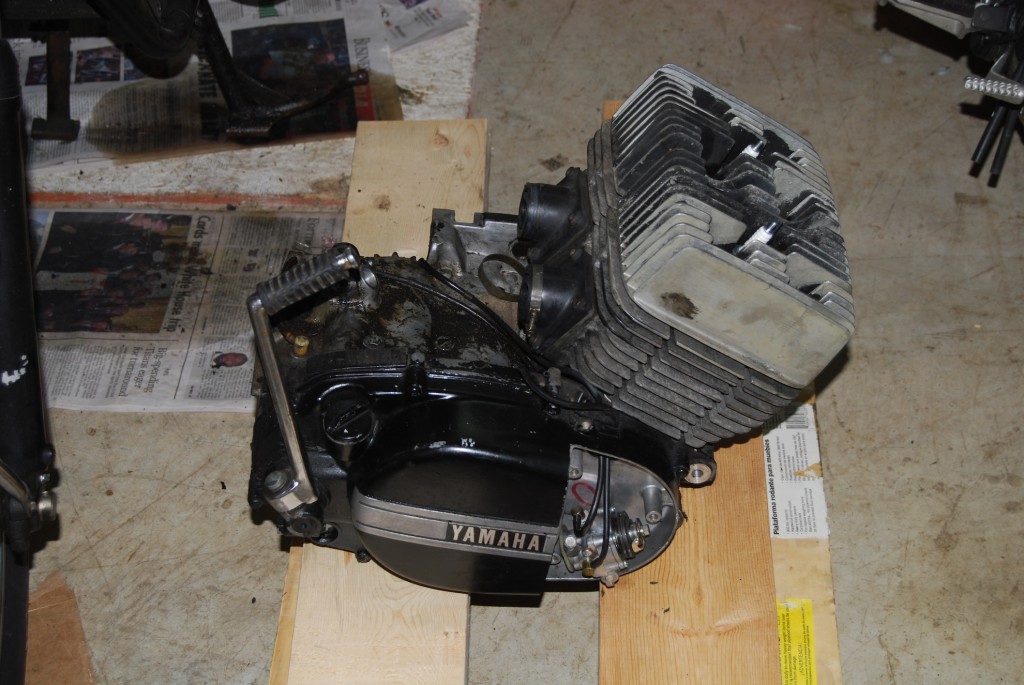
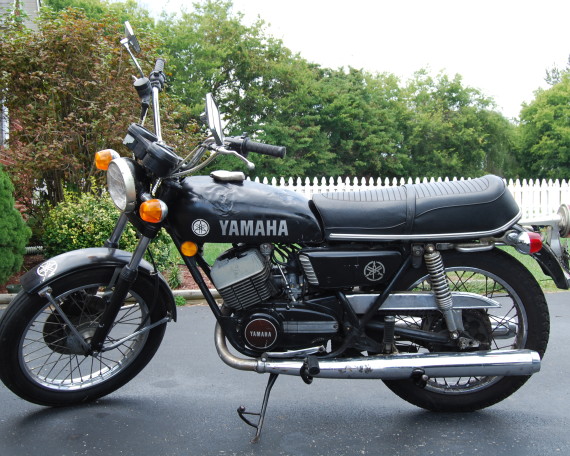
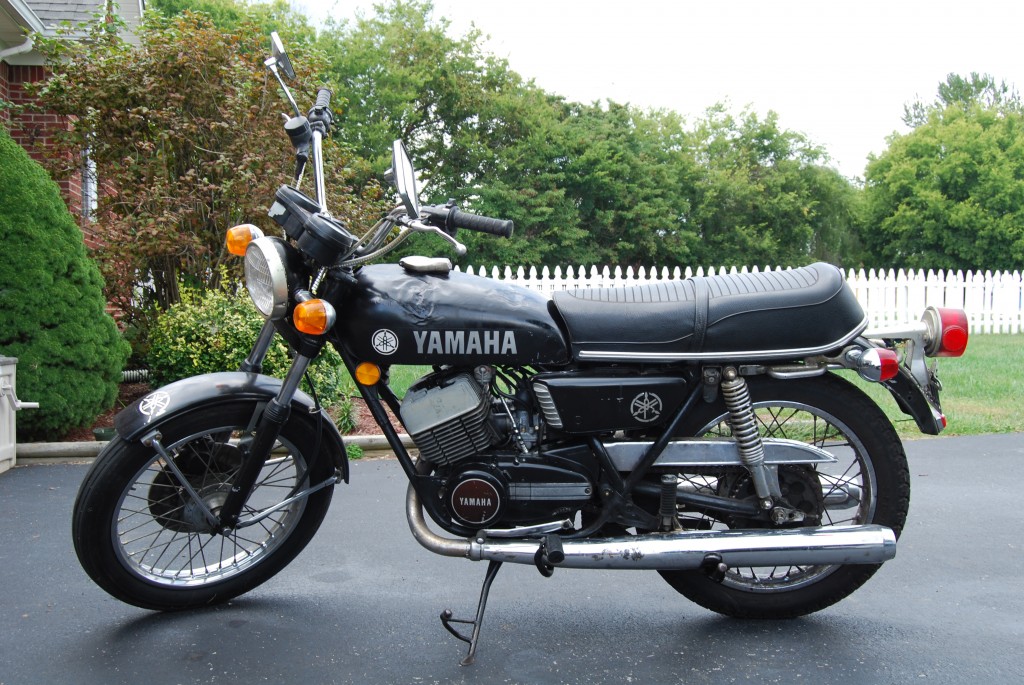
I went to pick up my newest garage endeavor last Friday morning, a 1975 Yamaha RD250, destined to become a cafe racer. I was anxious as I made circles around the bike at the sellers house, trying to look and sound somewhat confident that I knew what I was talking about.  A healthy dose of research got me up to speed pretty quickly the night before. The bike was in decent shape, but had enough wrong with it that it would need some TLC before it could be trusted as a “daily runner”. The seller had a garage full of interesting and rare mopeds that were higher on his project priority list than the RD, so he was looking to get back what he paid for it originally and be done with it.

A good bike with a few issues

A good bike with a few issues

DIY SCUBA Noise Maker / Shaker

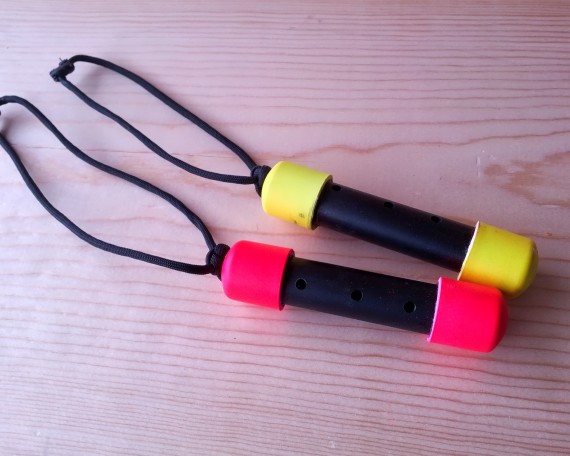
DIY SCUBA noise makers made from PVC and stainless steel ball bearings

DIY SCUBA noise makers made from PVC and stainless steel ball bearings

Intro

My wife and I went on a couple of dives in Destin, FL, USA over our summer vacation. The first was an awesome boat dive chartered through ScubaTech. Aside from nearly losing my new GoPro on the bottom of the ocean, it was uneventful and extremely enjoyable.

The next day we (mainly me) decided to try our first solo shore dive. The Destin Jetties are a popular shore diving location, and after renting our gear and lugging it 150 yards from the car in loose sand in the summer sun, we were ready to dive. The Jetties were very crowded (boats, snorkelers, dive classes, etc), and this was my first time towing a dive flag (which I will NEVER do again). After roughly 35 minutes on the bottom we were both following our course back towards the shore. I suddenly became aware of some rather intense currents. As I found myself getting pulled up and away from my wife, I frantically tried to make noise so she would know to begin her ascent. Between struggling with the tow line, and focusing on getting my wife’s attention, I neglected to dump the expanding air from my BC and shot up to the surface. Thankfully we had been at a shallower depth for a while, so no issues with the fast ascent (although DEFINITELY not recommended). My wife eventually noticed I was missing, she stuck to her training and looked around for 1 minute, then surfaced about 20ft from me. As we exited the water, I resolved to buy or make some kind of noise maker to bring with me next time. Obviously the better solutions are proper buoyancy control and staying next to your buddy, but this gives you a last ditch effort to get someone’s attention.