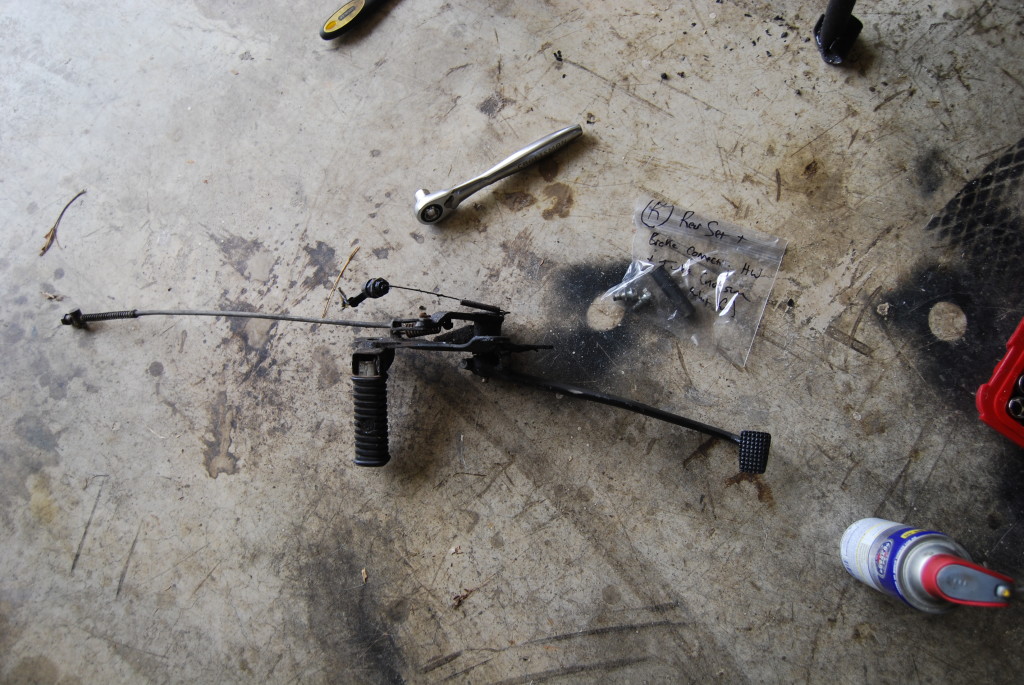
Time to remove more stuff from the frame! We’re getting close! This time we’re taking off the rear swingarm, foot rests and rear sets (which includes the rear brake assembly).
Swingarm
First locate and remove the first swingarm nut from the right side of the bike. See circled portion of the image below:
With the nut removed, we can use a rubber mallet to force the swingarm axle through and out the left side of the bike. The last frame of the animation below shows the left side where the axle comes out.
Use some locking pliers to remove the axle from the left side of the bike:
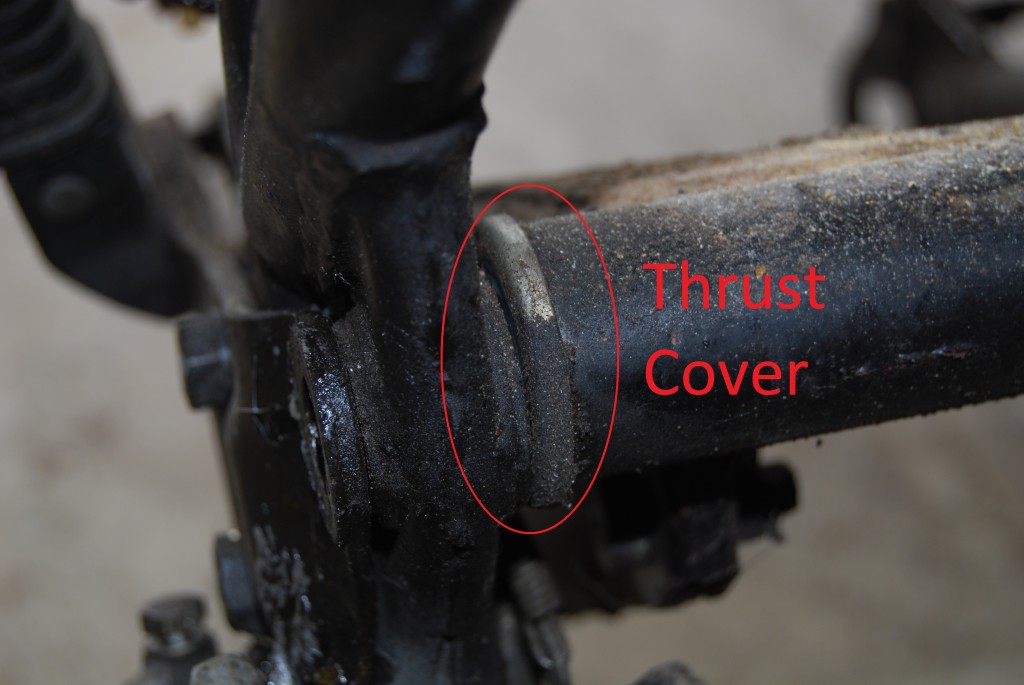
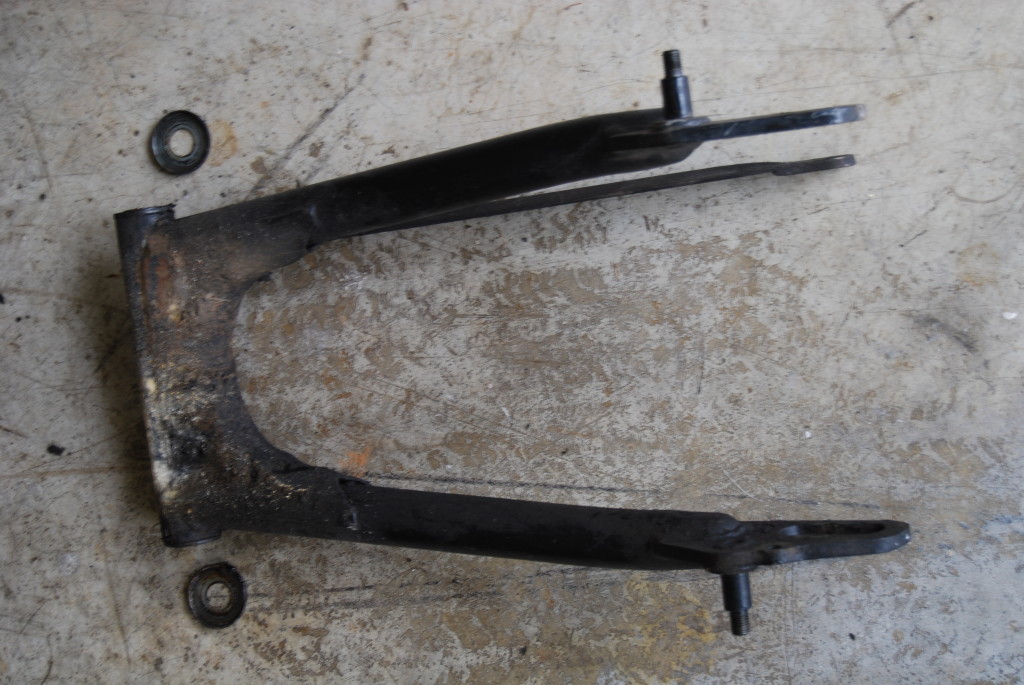
With the axle removed, your swingarm will likely still be held in place by old gunk. Between the frame and the swingarm itself are a pair of thrust covers. Make sure these come with the swingarm and aren’t left behind with the frame:
Foot Rests
Prepare to get gunky. This portion of the bike picks up all the nasty road grime and leaking oil, making for a fantastic mess if the bike has gone as long without a cleaning as this one has. Here’s the area we’re focusing on:
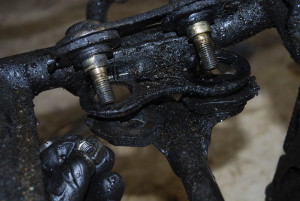
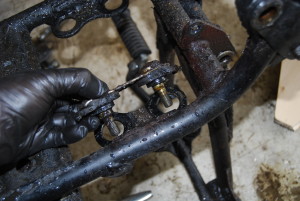
There are two bars that attach to the footrest assembly via a total of four bolts and a series of nuts, washers, and rubber grommets. Remove all of these and the footrests should come free.
Rear Sets (and Rear Brake Assembly)
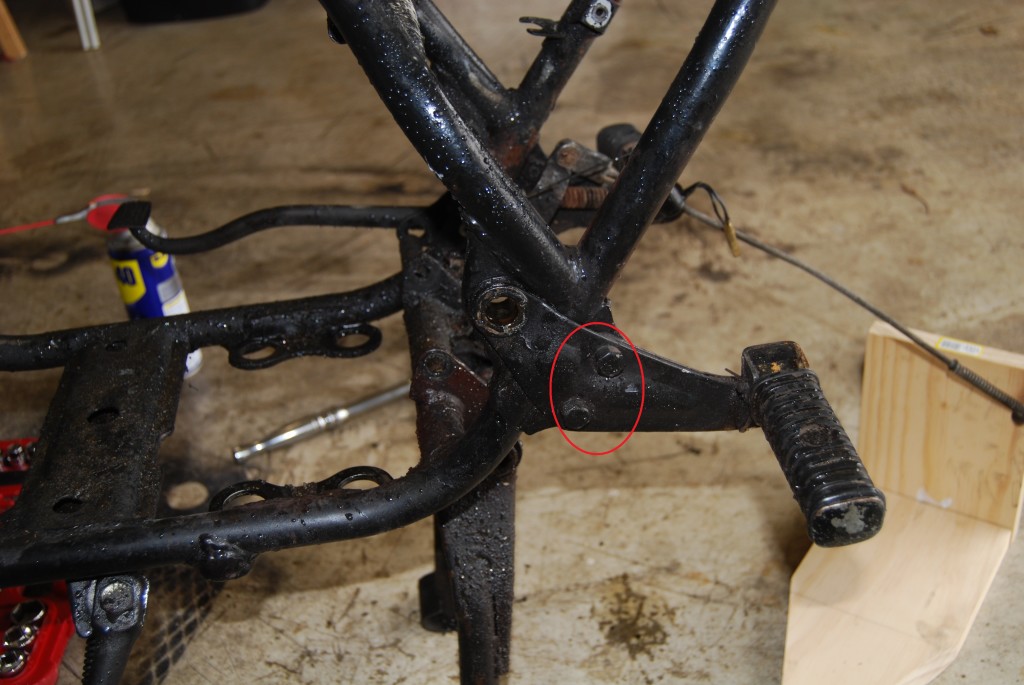
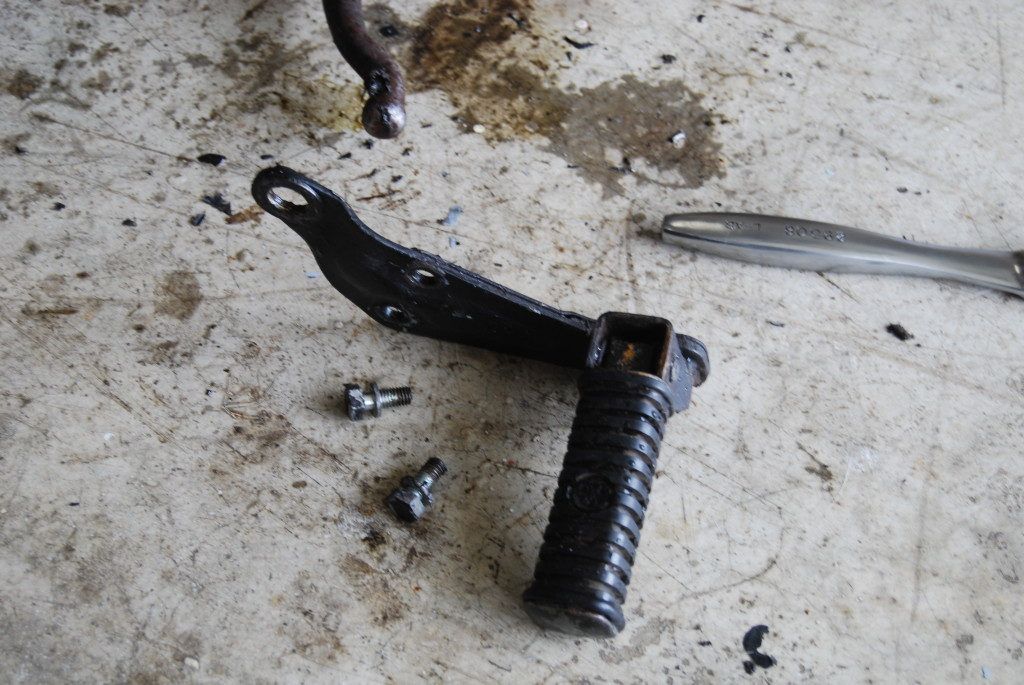
Lets start with the left rear set, it’s the easiest to remove. Simply remove the two bolts pictured below and pull the rear set free:
For the right rear set, we first have to take care of (what I believe is) the brake light switch. Loosen the nut and remove the switch from the frame, letting it hang loose.
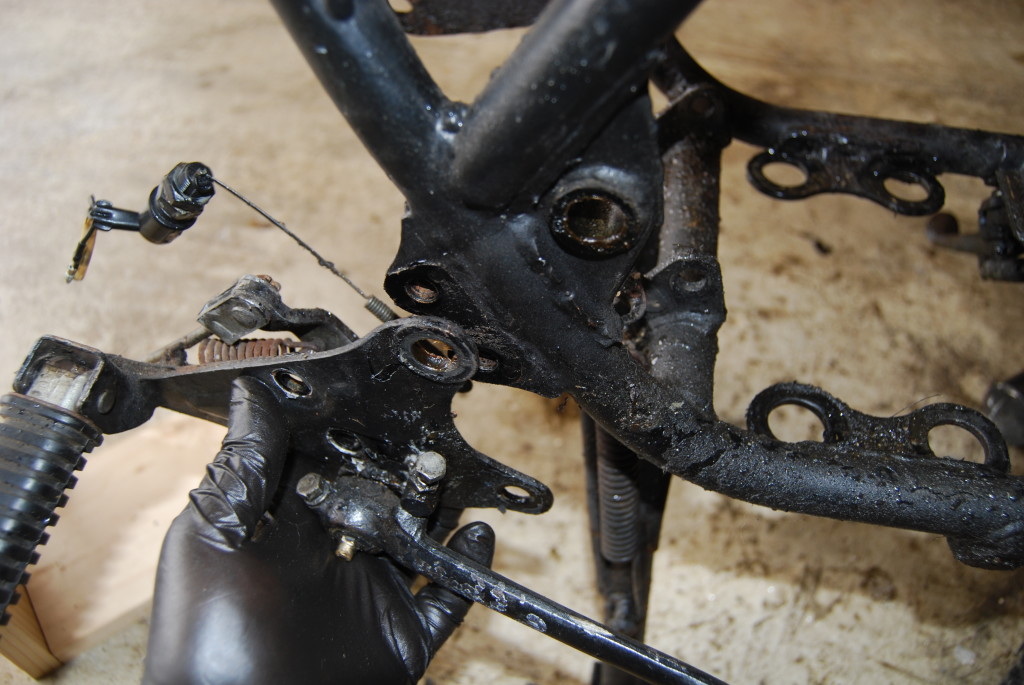
Follow the same procedure here as we did for the left side – remove the two bolts holding the set to the frame:
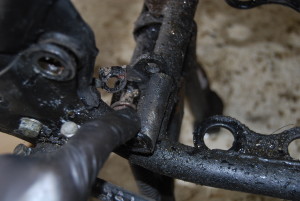
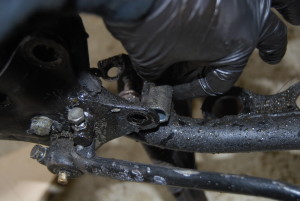
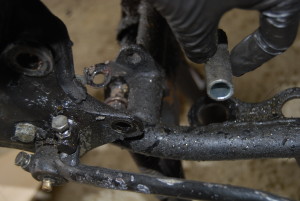
One other difference here has to do with a bolt we removed from the rear set during engine removal. This bolt traveled through a small tube wedged between the frame and the rear set. Remove this and keep it with the rear set:
Now pull the rear set away towards the rear, and you should be done!

![[rd250] Swingarm nut](http://www.castleseven.net/wp-content/uploads/2016/04/DSC_0235-1024x685.jpg)
![[rd250] Swingarm Axle Removed](http://www.castleseven.net/wp-content/uploads/2016/04/output_m6cJBS.gif)
![[rd250] Swingarm axle manual removal](http://www.castleseven.net/wp-content/uploads/2016/04/DSC_0247-1024x685.jpg)
![[rd250] Foot Rest Overhead](http://www.castleseven.net/wp-content/uploads/2016/04/DSC_0267-1024x685.jpg)
![[rd250] Footrests Removed](http://www.castleseven.net/wp-content/uploads/2016/04/DSC_0289-1024x685.jpg)
![[rd250] Rear Brake Switch](http://www.castleseven.net/wp-content/uploads/2016/04/DSC_0235-1-685x1024.jpg)
![[rd250] right rear set bolts](http://www.castleseven.net/wp-content/uploads/2016/04/DSC_0294-1024x685.jpg)
