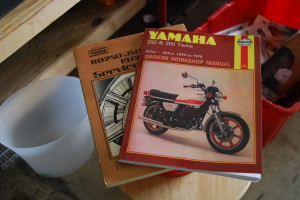
Functionally, this bike is in pretty decent shape. I was able to ride it home, but I wouldn’t trust it out and about in town for long. With the right cylinder prone to fouling its plug after its run for a bit, the first thing to do is inspect the carbs and the exhaust. We’ll cover the carbs first. Before we get started, I need to sing praises for good shop/service manuals. I’d still be scratching my head on a lot of things without these, so drop the $$ and save yourself the headache.
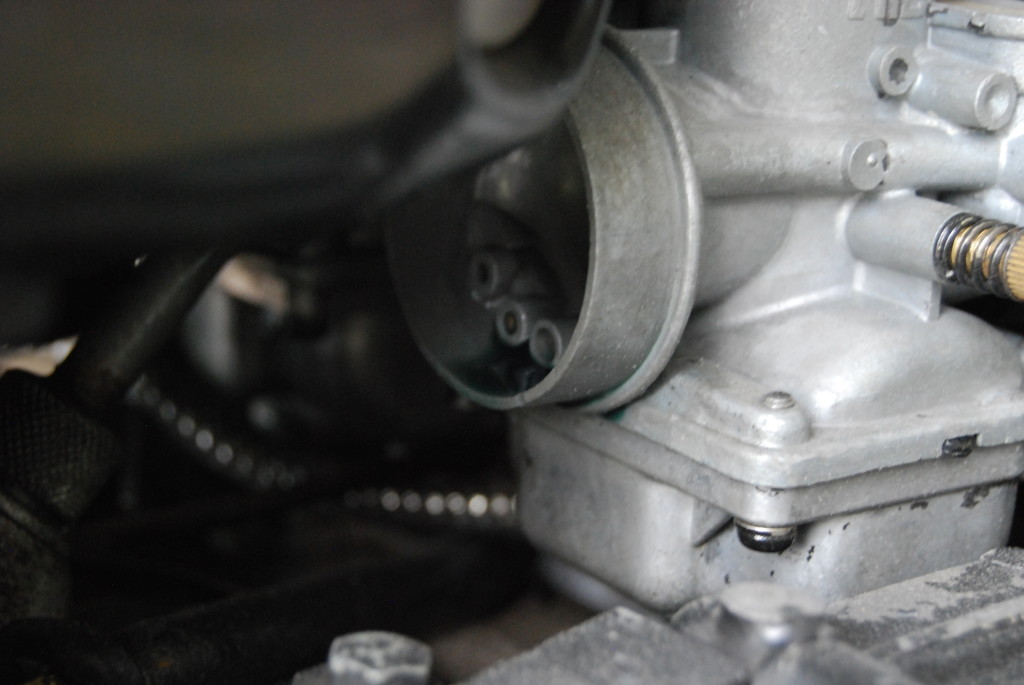
When I bought the bike, the pod filter for the right carburetor was removed. After running it for a little bit I noticed some fuel puddling at the air intake. My assumption is that something with the floats is messed up, and we’re letting too much fuel into the float chamber. That might be why the filter had been removed, in a symptom-fix for the air/fuel ratio.
Carb Removal:
Removing the carbs is generally pretty straightforward. You don’t necessarily HAVE to remove the gas tank, but it will give you more room to work on the throttle valves. My tank needs work anyway, so I drained the gas via the petcock fuel lines that go to the carbs and removed it. Be sure to also remove the little rubber hose that connects the two underside halves of the tank.
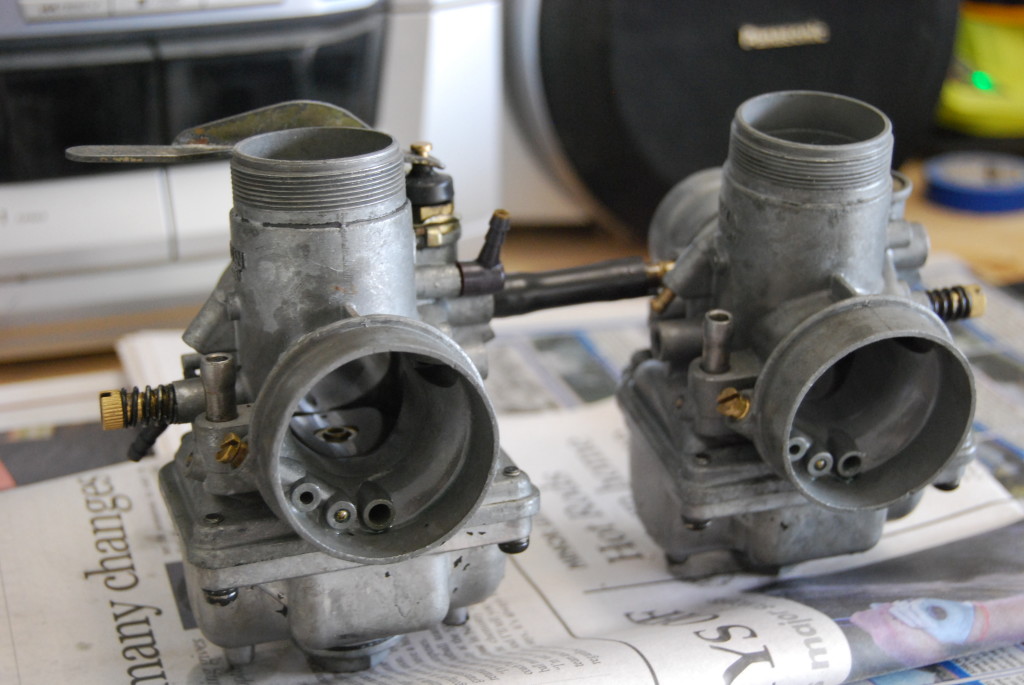
With the tank out of the way (or not, if you like to make life hard 🙂 ), the next step is to completely unhook the carbs from the bike. That means the oil-pump lines, the fuel overflow lines (if there are any), the throttle valve (screwed into the top), the air filters (secured via hose clamps), and the output boot (connected to each cylinder, secured via hose clamp). The fuel/oil lines were all push fit, I think originally there were little clamps on these lines, but they were missing on mine. When unscrewing the throttle valves, you’ll pull out everything – the valve guide, the needle, the spring – all of it. I taped these to the frame and will come back for them latter. The carbs are attached to each other via a small rubber hose, I believe as a means of choke sharing, since the left side has the choke assembly and the right doesn’t. This hose is push fit, so some minor twisting and pulling should get them separated.
Carb Cleaning:
With both carbs out of the bike, now we need to disassemble everything, removing all rubber and nylon parts so we can get things cleaned chemically. I shot this video of the right side being disassembled. The left side is nearly identical, with exception of the choke assembly.
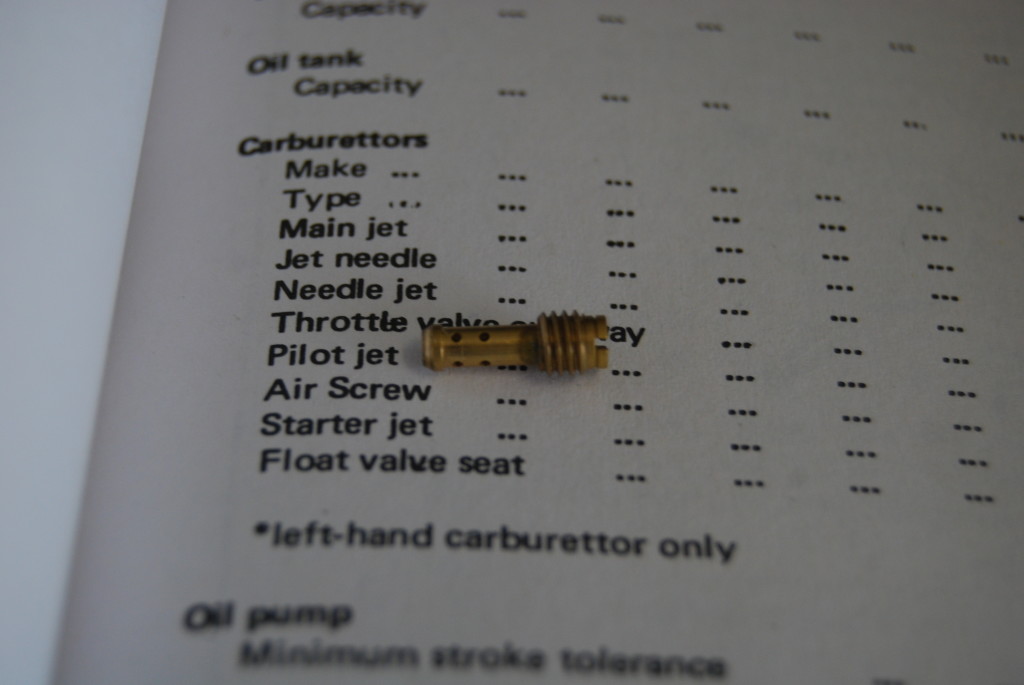
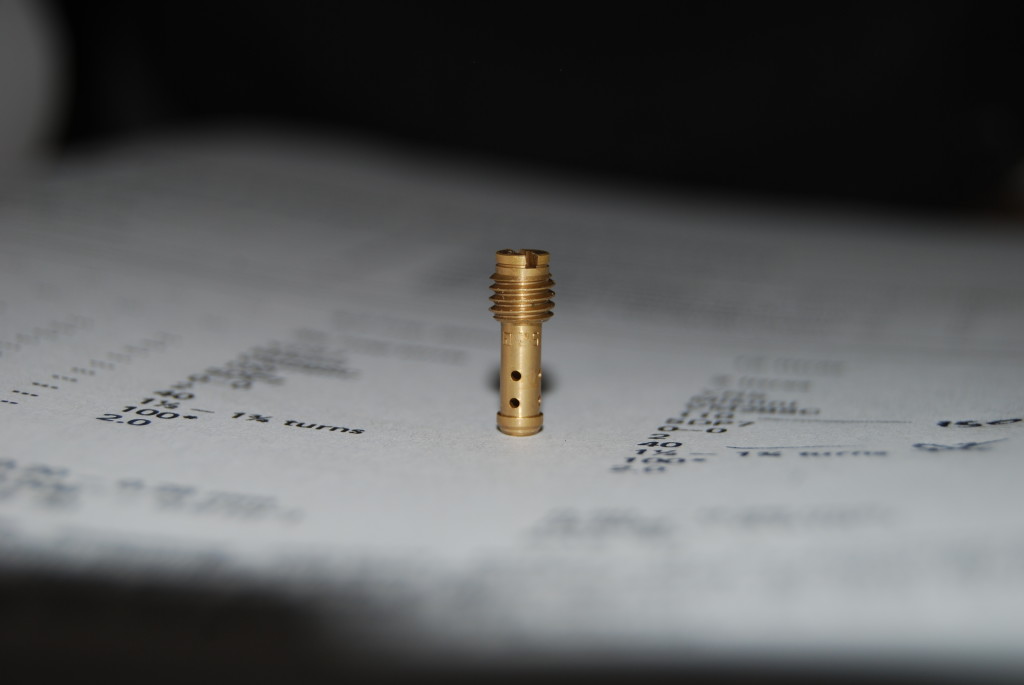
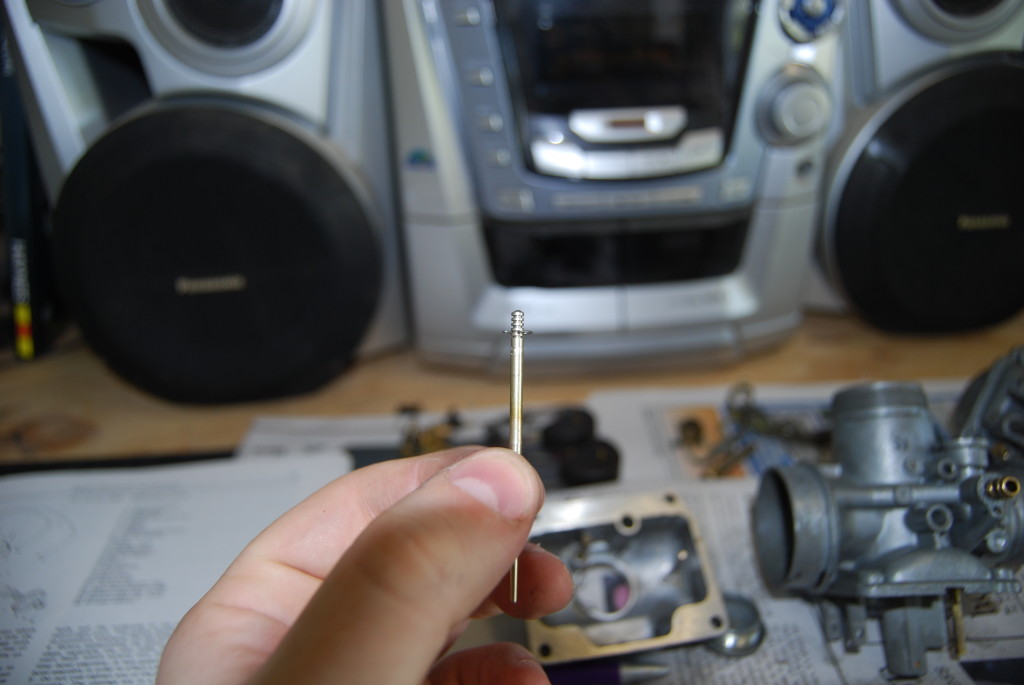
The jets in this bike don’t match the manufacturer stock specifications. I’m not really surprised, the PO mentioned he re-jetted the carbs in an effort to fix the fouling issue. And I’ll likely have to re-jet, especially after I start messing with the exhaust. But for now, the pilot jet is a size 25 VM22/210 (stock is size 40), and the main jet is sized at 150 (not sure what model jet it is, stock size is 110). The jet needle (long, thin piece from the throttle valve assembly) is a 5I4 (stock is 5DP7). Circlip is on the 2nd from the bottom notch.
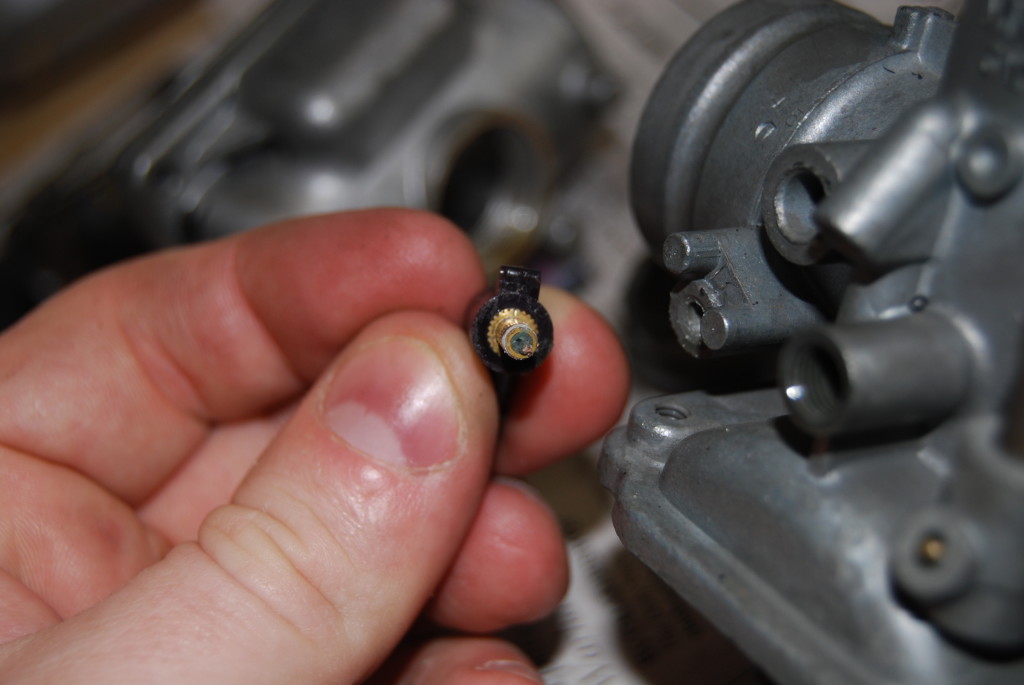
Another interesting thing to note. This bike runs pre-mix, despite having an oil pump for oil injection. When I asked the PO about it, he could only tell me that it had been ‘disabled’. I wasn’t sure whether that meant the pump had just stopped working, or if something had been physically done to disable it. Well, I (kinda) got my answer when inspecting the carbs. Each carb has a nylon nozzle that had lines going to the oil pump. They are press-fit into place, so some careful screwdriver-ing (yes, a technical term) and they pull free. In both carbs these had been plugged with what looked like a small piece of wire and some silicon. So the pump may still work (TBD), but there’s no way I’ll be getting oil to the carbs without replacing these nozzles.
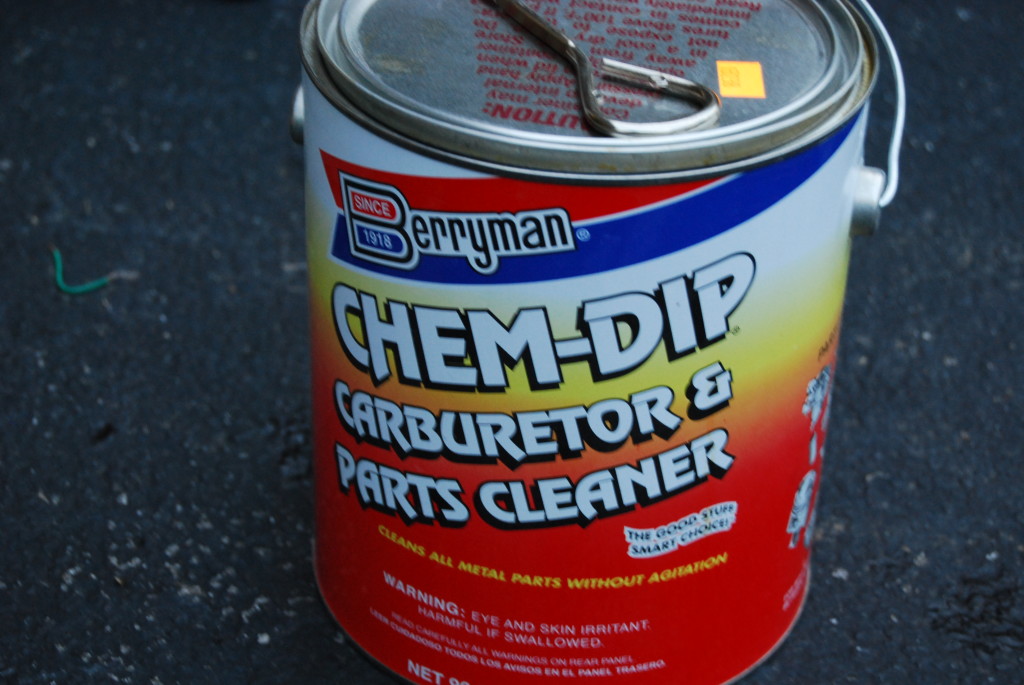
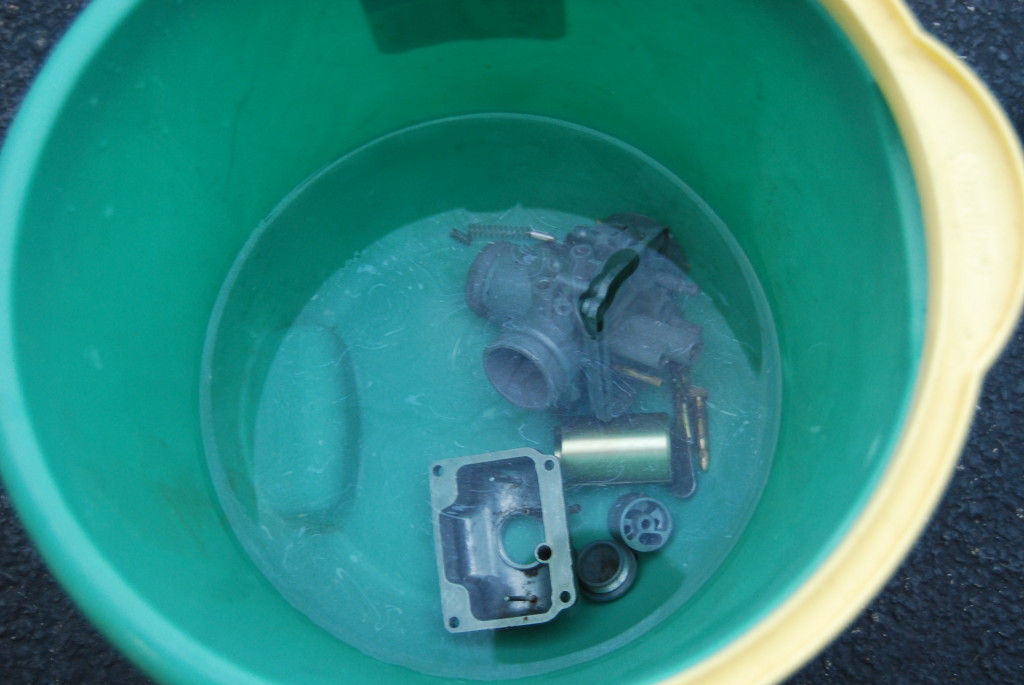
With all the plastic/rubber/nylon pieces removed, now we just dump them in the chem cleaner. I used Berryman’s Chem Dip. I’ve read on other forums that people don’t like this because they removed all the good/bad chemicals that did the heavy cleaning. I’m new to the game, so I figured I’d give it a try. My carbs weren’t really that filthy to begin with, so I can’t really tell that it did much. I left each carb in the dip for 2 hours. Shouldn’t be left in for more than 4. I’ll probably polish up the outside and remove some paint using a wire wheel later.

